1-888-326-9244
Contact
Create an Account
Sign in
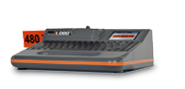
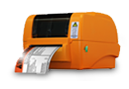
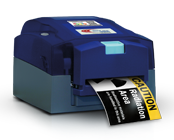
NEW! Multi-color, large format
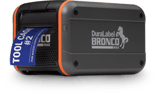
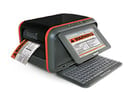
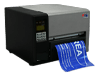
BEST SELLER! Portable all-in-one
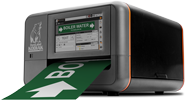
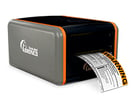
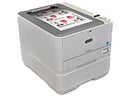
Reliable workhorse
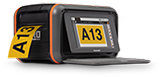
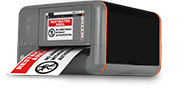
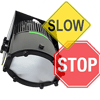
Grab n' go lebeler
Supplies and Support
Tape, Ribbon and more
Get help on a project and recommendations for solutions. Our signage experts can guide you to your goal, just start with a call.
Set Up Appointment
Get help with DuraLabel products and support with using software. Making labels, troubleshooting, or product recommendations.